The paperwhites have all frozen. Sometimes I can get away with them being beautiful all the way until February, but not the last two years. But that is ok. I actually want my paperwhites to be out of the garden by January so I can plant tulips!
I actually want my paperwhites to be out of the garden by January so I can plant tulips.
This blog post talks about:
- Planting tulips in January
- Answer the question: How do I plant tulips?
Disclaimer: this is not a blog post talking about perennial or heirloom paperwhites. Those come back every year. I am talking about a “color” change out, using annual bulbs to give my garden color in January, February and March. If I want perennial flower bulbs for January color, I will often use ‘Italicus’ (Narcissus tazetta italicus), Chinese sacred lilies (Narcissus tazetta orientalis), the double Roman or Constantinople (Narcissus tazetta romanus), or heirloom French Roman hyacinths.
Planting Tulips in January
I think it is best to plant tulips in December and January, especially if you are planting Dutch Darwin hybrids that have needed to chill in a refrigerator for 2,000 hours. Warm weather in the fall and winter can make them bloom too early for us, and I like to have paperwhites in these beds for Christmas and New Year blooms.
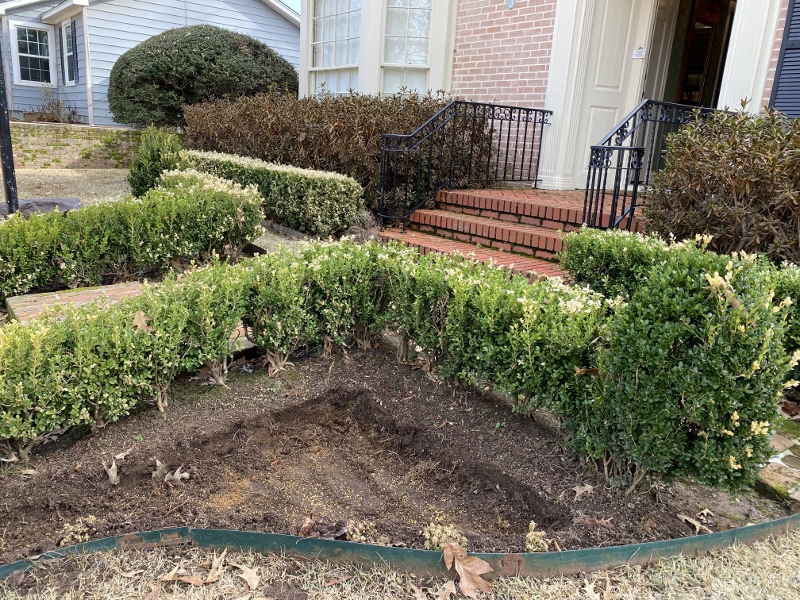
This is for a small area of color by our front entrance that I like to change out every season. I am ok with a high level of garden activity in smaller areas that have a large impact. For example, we have guests that use the front door, the postman comes by every day, I have to pick up the paper every day and walk by it, the spot is visual from curb, and we see it when looking out the kitchen window. This areas is worth the extra attention. The truth is, it really doesn’t take long to change the area out.
This project planted 100 tulips on each side of the walk for a total of 200 tulips.
Time: 2 hours max.
- Pull out dead or dying material: 30 minutes
- Dig out soil: 20 minutes
- Spread fertilizer: 10 minutes
- Plant tulips: 20 minutes
- Cover with dirt: 20 minutes
- Clean up: 20 minutes
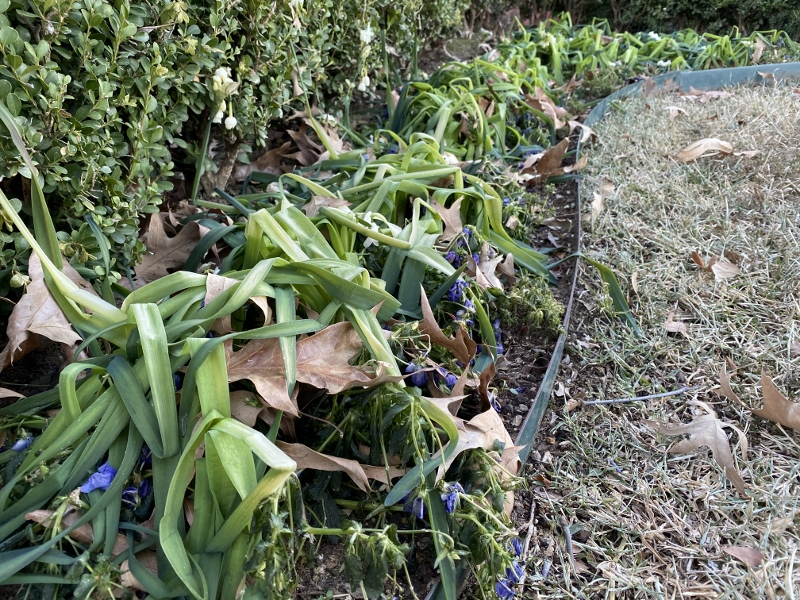
Jose helped me pull up all of the dead and dying paperwhites. Here is a picture of what happened to them after the freeze:
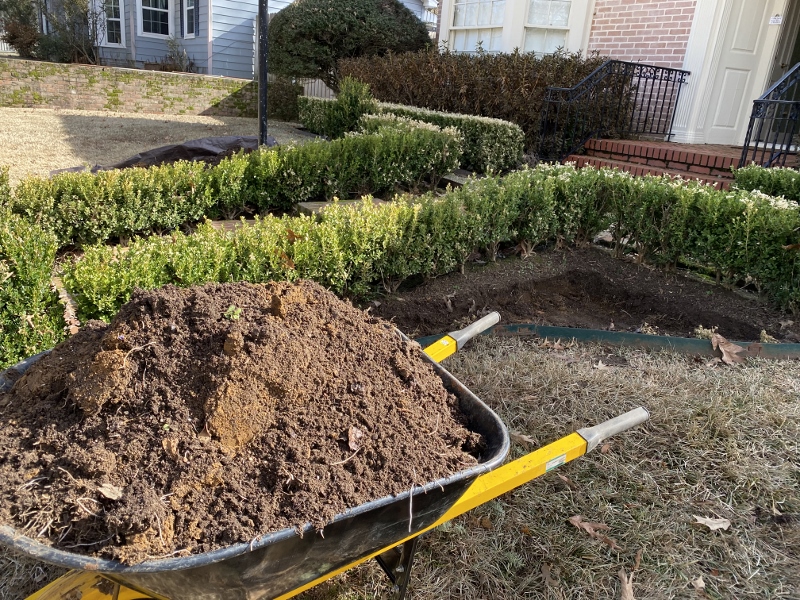
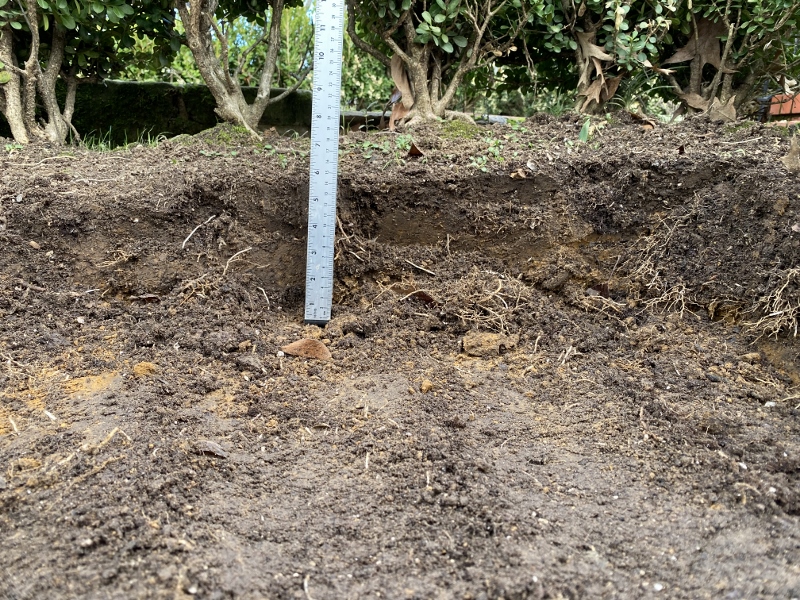
After all of this was removed, I dug out the soil. I dug it down about 5-6” and put the soil in a wheelbarrow. You could also put it on a tarp or something similar.
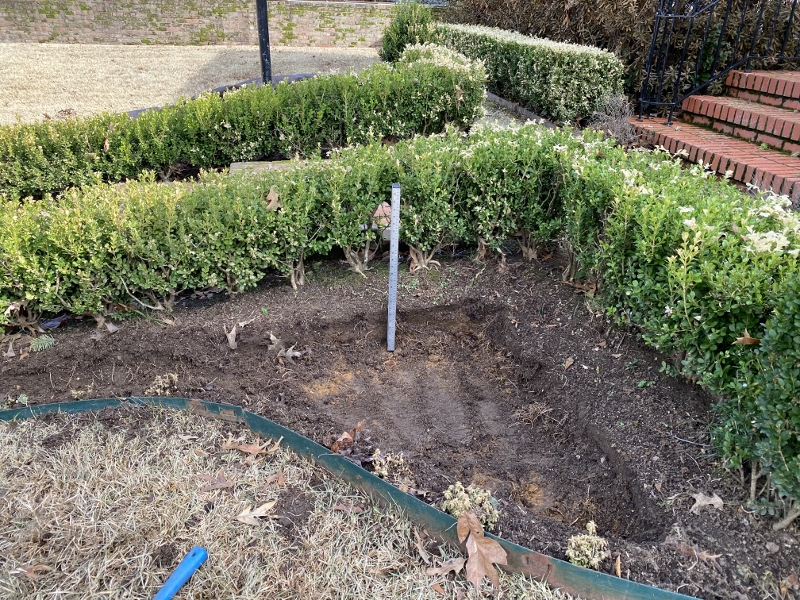
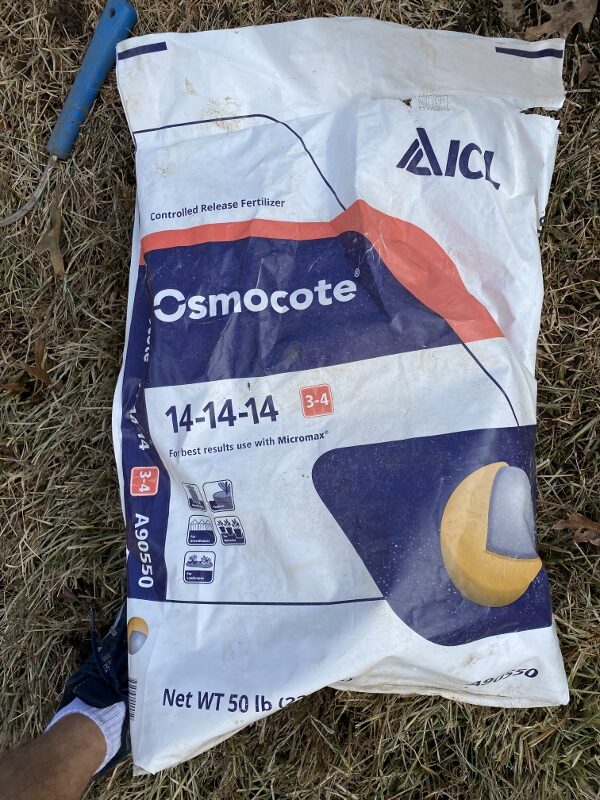
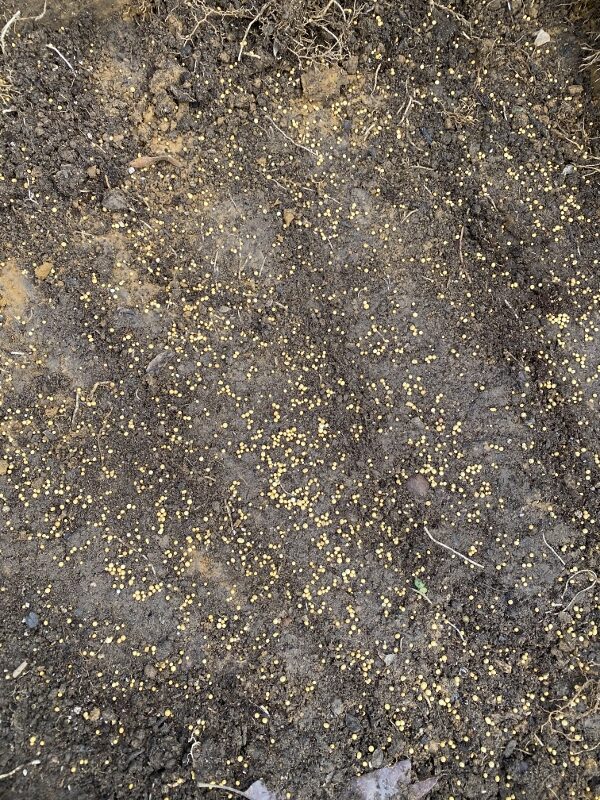
This is a great time to fertilize the area, and I chose to use a well-balanced slow-release fertilizer. You can really use whatever organic or inorganic fertilizer you would like, just make sure it’s not heavy on the Nitrogen and light of Phosphorous and Potassium (N-P-K ratio). I spread it evenly across the bed.
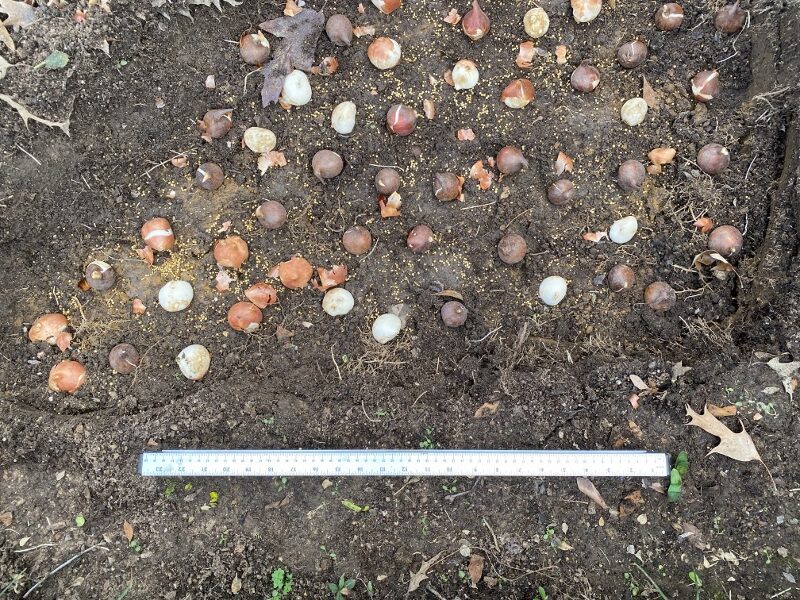
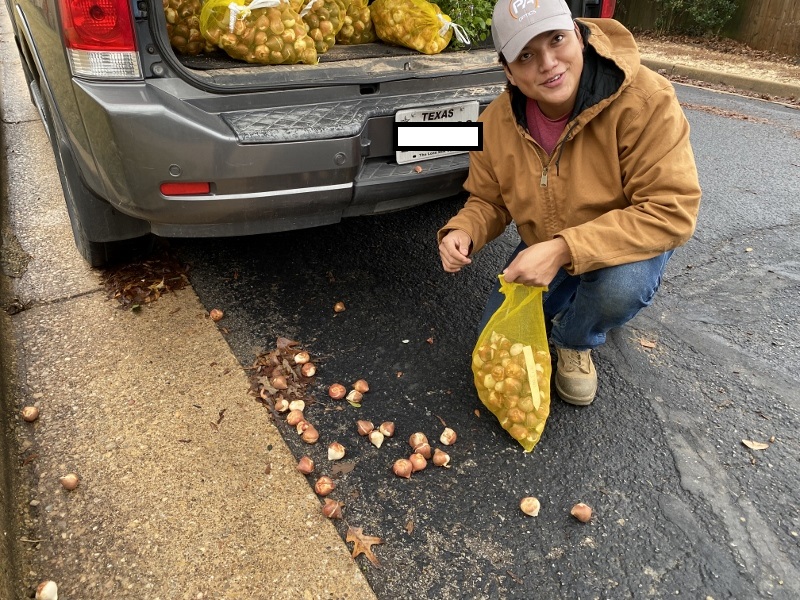
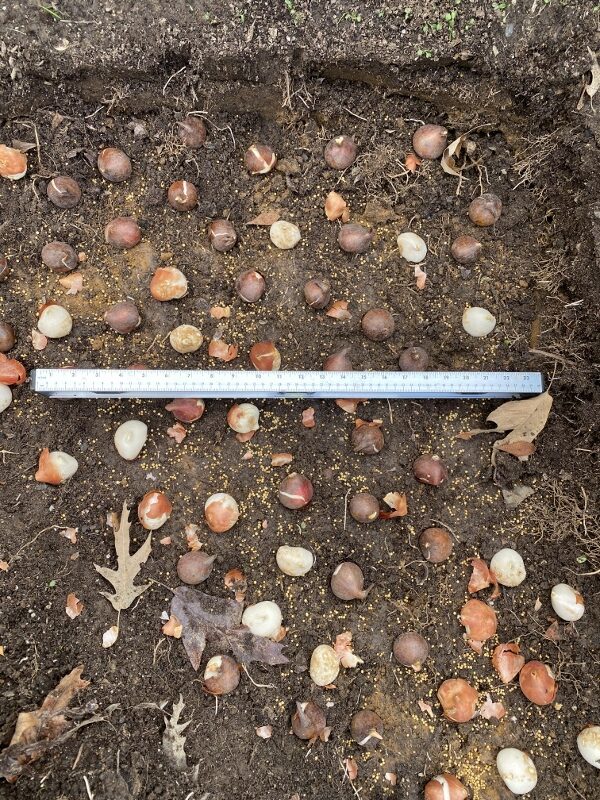
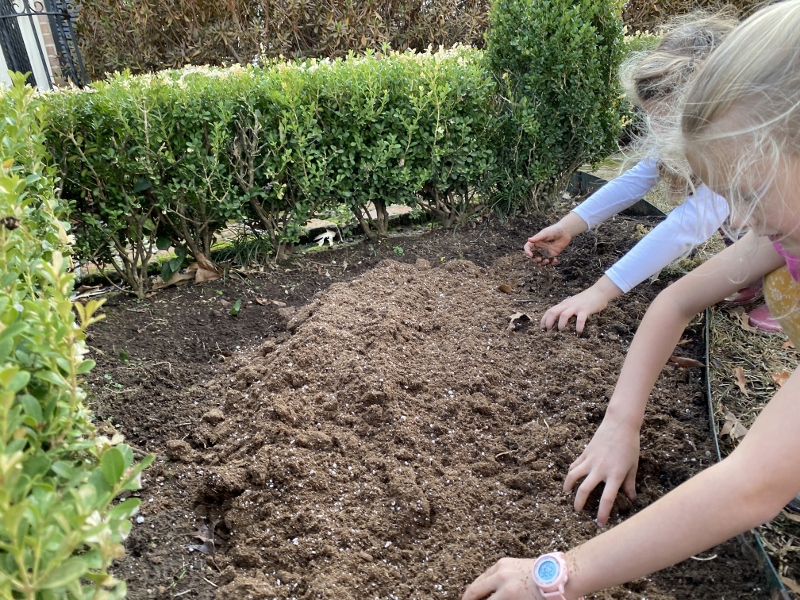
Next, I found some helper to help me plant the tulips. This was after we picked up the spilled bags of tulips from the road after we dropped them. We planted them pretty tight with about 12 per square foot. 5 per square foot would probably be plenty for most applications.

After that we covered them with dirt and cleaned up. It’s really that simple!
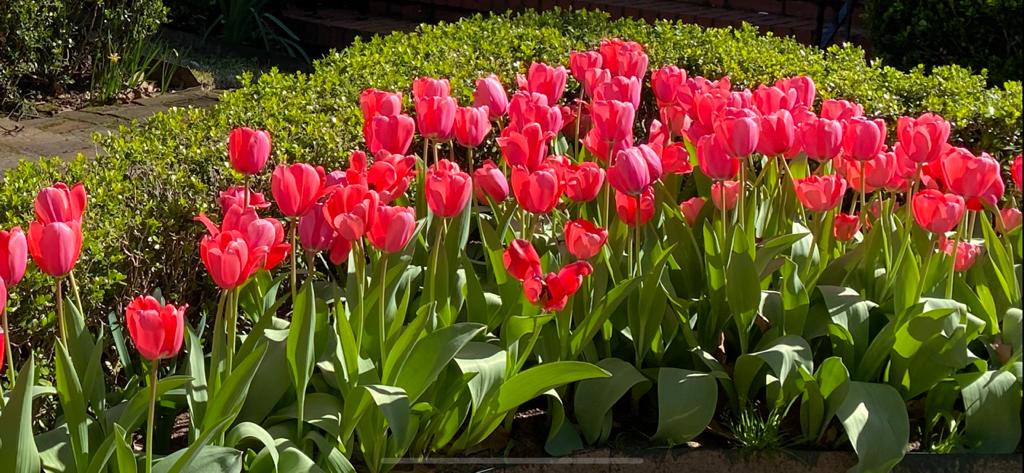
The result every year is spectacular. Below is our pick from last year.
How do I plant tulips?
Tulips are a popular type of flowering bulb that can add a splash of color to any garden. Here are some steps to follow when planting tulips:
- Choose a location with well-draining soil and full sun to partial shade. Tulips prefer a location with at least 6 hours of direct sunlight per day.
- Prepare the soil by loosening it with a garden fork and adding compost or well-rotted manure to improve the soil structure. In our case, we’ve worked the soil for years, so we simply remove the top layer of garden soil and cover them once we are done planting them.
- In warmer climates, I like to plant tulips in December and January. In colder climates, plant the tulip bulbs in the fall, about 6-8 weeks before the first frost. This allows the bulbs time to establish roots before the winter weather sets in.
- Plant the bulbs at a depth of about three times the size of the bulb. This usually equated to 3-5” of soil over the bulb.
- Space the bulbs about 2-3 inches apart and water them thoroughly after planting. After that, the winter rains and cooler temperatures typically keep the soil moist enough through the winter. You’ll want to start watering them when they begin to grow and bloom in March and April.
- Mulch around the base of the bulbs with a layer of straw, leaves, or wood chips to protect them from extreme temperatures and keep the soil moist. In our case, a nice layer of potting soil will do the trick.
- When the tulips have finished blooming, allow the foliage to die back naturally if you plan to try to get them to rebloom. This helps to nourish the bulbs for the following year. If you are treating them as annuals, dig them up and plant something else in that space.
I hope this helps! Let me know if you have any other questions.
I purchased 150 daffodil bulbs from you not too long ago, and as a result, I was introduced to you blog which I love. So here is a question about tulip bulbs. If I purchased tulip bulbs from you right now, would I need to chill them? Thank you for that marvelous weekly bulb journey.
Hi Vicky! Sorry for the late response…I was in San Antonio for a wedding where everything on the River Walk that was cold sensitive was brown and dead! But the bulbs, even there, are starting to come up. We pre chill our larger tulips bulbs that we sell so “no” they don’t need to be chilled. However, most of our tulips, like our other heirloom flower bulbs, don’t need chilling or very little chilling- they are typically referred to as “species tulips.” For those of you who are wondering, chilling hours are the number of hours below 45 degrees, and during the winter most tulips need about 2,000 chilling hours to bloom. Hope this helps!
Hi, I’ve tried to find this in your previous posts, but haven’t seen an answer to this. Apologies if I just missed it. Is it possible to plant species tulips in pots where hot-summer annuals will later go… then remove and store the tulips so they will stay dry over the summer? If so, how would you suggest caring for the species tulip bulbs while they are out of the ground? And when do they usually die back in your area? Thanks for your thoughts!
Hi Clare!
Yes, it is possible. I do that quite often with species tulips. Our bloom in mid March. Usually around the 2nd week of April I’ll pull them up when I can still see the foliage and change out the pots for summer use.
The bulbs I’ll lay out somewhere (like in a bulb or vegetable crate with lots of slits in the plastic for air flow) and let the foliage continue to dry down naturally. Around the 2nd week of May, the foliage is all dry and I’ll pull it off. Then I’ll bag and hang the bulbs from mesh bags in my shop or some other place out of the sun with plenty of air flow and out of the sun. It’s a lot of work so I only do a small amount for personal use this way, but it works great!
Hope this helps.
Chris
Chris
It is late January here in Coastal South Carolina can I still plant tulips or did I miss the window to plant?
Susan Bruss
Hi Susan! Not too late at all. I’ve been working around the snow and freezes here in East Texas myself. But we both need to plan to get this done before February so the bulbs don’t start to dry out/get bad. I have to throw away the pansies and paperwhites that carried the garden from October through New Years, but I keep these annual changeout areas small so it’s not too much work. Good luck!
I garden and grow tulips in Northwest Nevada (Reno area). About the closest climate in the South (relatively speaking) would probably be around El Paso, Texas. High, cold and dry in winter, high, hot and dry in Summer. Most of my garden has heavy clay soil. I generally stick to species tulips because they seem to last longer. I plant them in September or October, before the ground starts to freeze. I jam my narrow spade down as deep as I can stomp it, lever it back and forth a few times to make a tulip bulb sized hole, cram a bulb or bulbs in the hole, pull out the spade and stomp the soil back on top. Lather, rinse, repeat. Pretty much as long as the site is dry enough, the tulips will not only survive but even multiply. I have a clump of T. clusiana that started with half a dozen bulbs, and it has spread and grown year after year. Of the more popular hybrid tulips, I spotted ‘Clara Butt’ and ‘The Lizard’ blooming in my drier patches. There are spots that are so dry that not even cacti will grow there without regular supplemental water, but the tulips like it there.
Thank you for sharing! This is very helpful for so many gardeners and I didn’t know these types of tulips would do so well in NE Nevada. Would love to see some pics of your clumps if you have some.